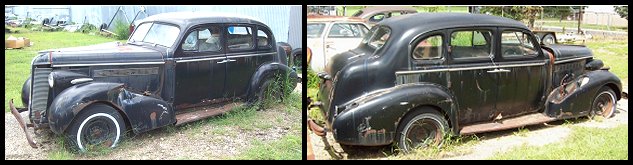
This is the procedure I used to rebuild the motor mounts for
my 1937 Buick Special. Originally the motor mounts were bonded together with vulcanized
rubber. Vulcanizing rubber is not an do it yourself type of project. It involves heating
rubber, specialized forms and pressing pieces together, something most people can't do
in their home shop. Since I could not buy new motor mounts for my car I would have to
have to send them out and have some one
vulcanize them for me. I only found a few places that vulcanized rubber parts and they all
were on the coasts, I wanted find some one local but couldn't. I would have to send
my mounts as cores to these places and wait 3-4 weeks to get them back. The cost to
revulcanize them is around $200, plus shipping.
I searched the internet to
find ways of rebuilding the motor mounts on myself and found a few sites that had posts
from people who rebuilt their own motor mounts. On site was the HAMB, but I could only
find vague references to doing it but I did find a few import site with post from the guys
with high powered import cars. It seems the import guys light to build their engine such high
torque they tend to tear apart stock motor mounts and either the stock mounts are extremely high
priced or they just can't handle the torque so they rebuild them themselves.
The procedure
I used cost about $90 and I was able to do it in my shop.
I bought my urethane from McMaster
Carr, www.mcmaster.com. You have to go
to their web site and search for part numbers 8644K24 for the two part kit and 8644K32 for the primer.
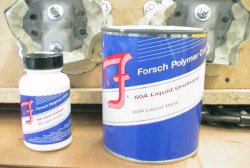
One site detailed the procedure and listed
the materials that were used. The person used a two part High performance polyester
urethane from Forsch Polymer Corp. I called Forsch and told their technician exactly
what I wanted to do with their product, he told me their product has been used by
many people to rebuild motor mounts and recommended their medium durometer
high tear strength system, 60A with their ADH 1001 urethane to metal primer. Click on a picture to bring up a larger image in a new window. |
|||||||||||||||||||||||||||||||||||||||||||||||||||||||||||
|

|

|

|
||||||||||||||||||||||||||||||||||||||||||||||||||||||||
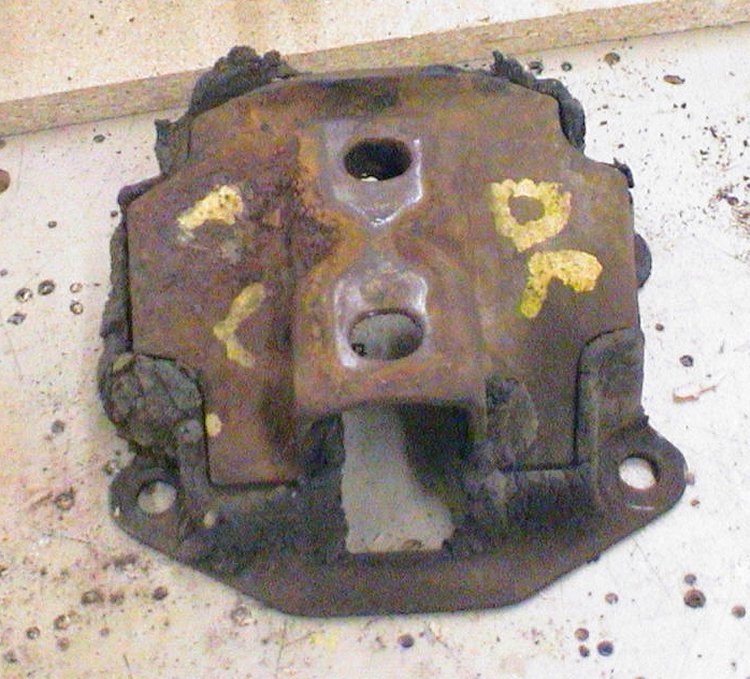
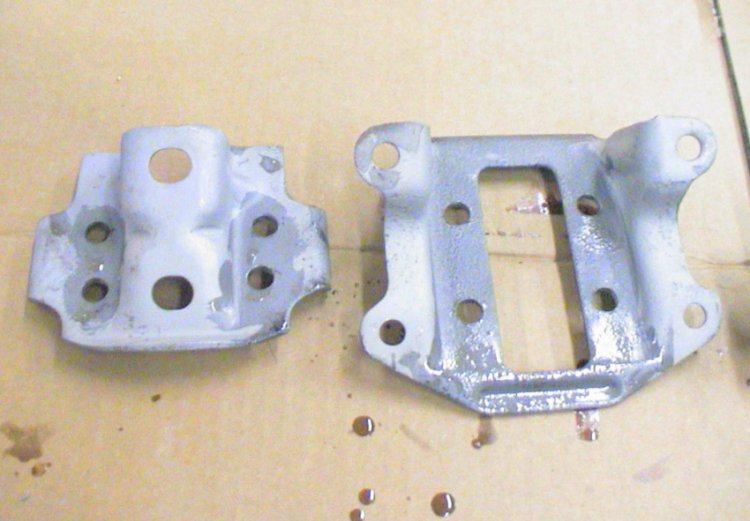
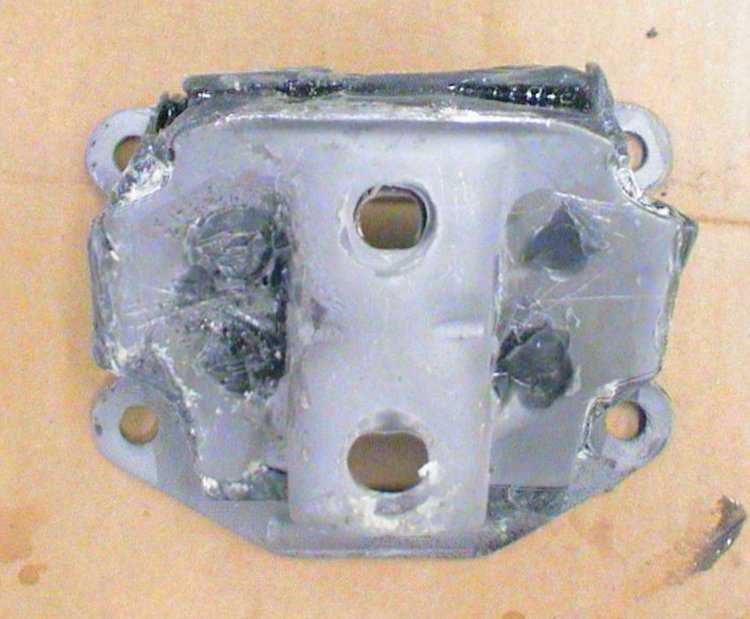
| This is one of my original motor mounts, it rough shape, it was still stuck together, the other mount's rubber cushion fell apart when I removed it from the car. I measured the cushion from the other mount to determine the distance of separation of the two parts. I measured about an 1/2" but figure I should add a little to compensate for compression over the last 70 years. |
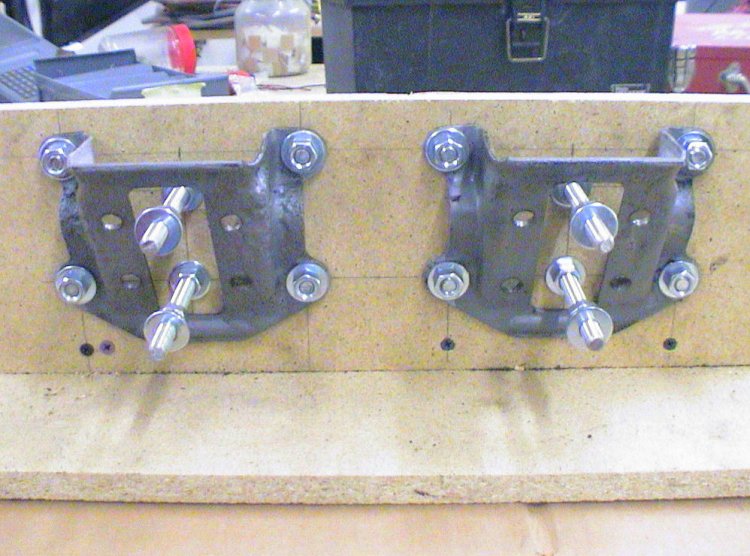
I made a jig/stand out of 1/2" particle board to mount the mounts to. I measured the mounting holes of both the motor side and the frame side and marked and drilled holes in the upright board. I recessed all of the holes so I could fasten the bolts with a nut on the front, keeping the mounting surface of the motor mount flush on the particle board. I used 3/8"x1 1/2" for the motor side and 3/8" threaded rod and nuts to mount the frame side of the motor mount. I used nuts to keep the two pieces separated the correct distance. |
||||||||||||||||||||||||||||||||||||||||||||||||||||||||||
|

|
|
|
||||||||||||||||||||||||||||||||||||||||||||||||||||||||
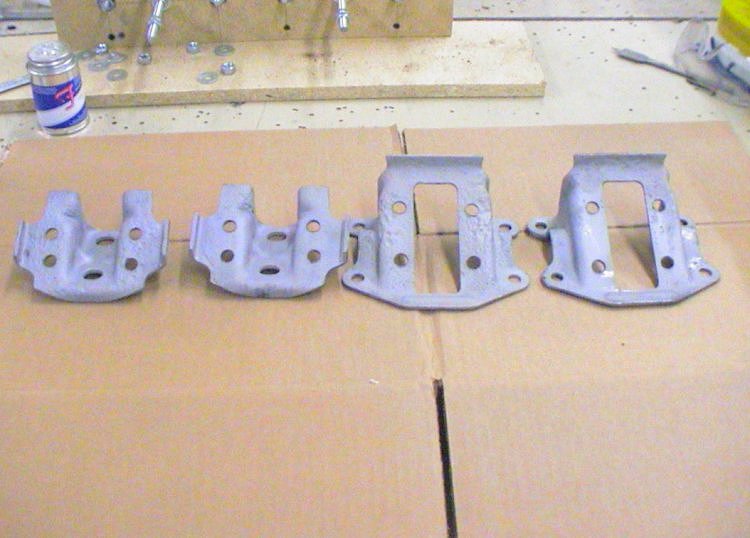
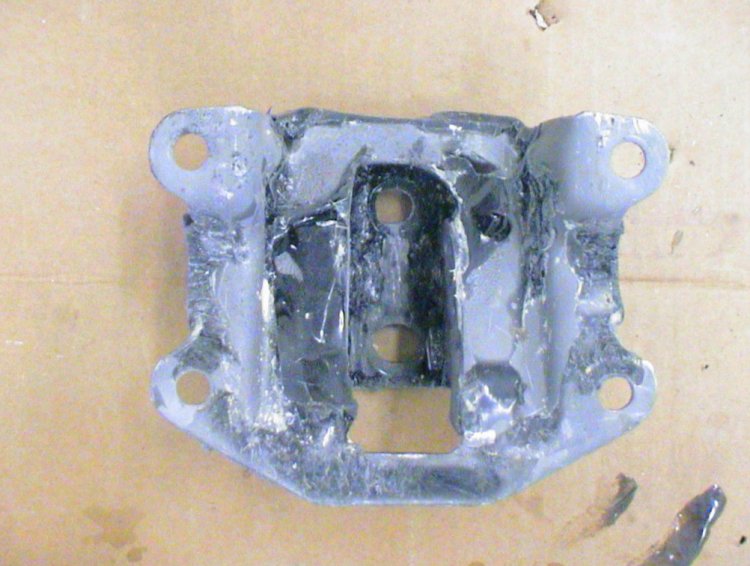
As per instructions, I sand blasted the parts so the polyester urethane had a good, clean surface to bond to. The Forsch tech also suggested drilling larger holds in both parts to assure a mechanical bond as well as an adhesion bond. I applied the recommended primer. It brushes on wet but when dry it's almost invisible. I covered all bonding surfaces, including the inside and areas around the holes I drilled. |
|||||||||||||||||||||||||||||||||||||||||||||||||||||||||||
|
|
|

|
||||||||||||||||||||||||||||||||||||||||||||||||||||||||
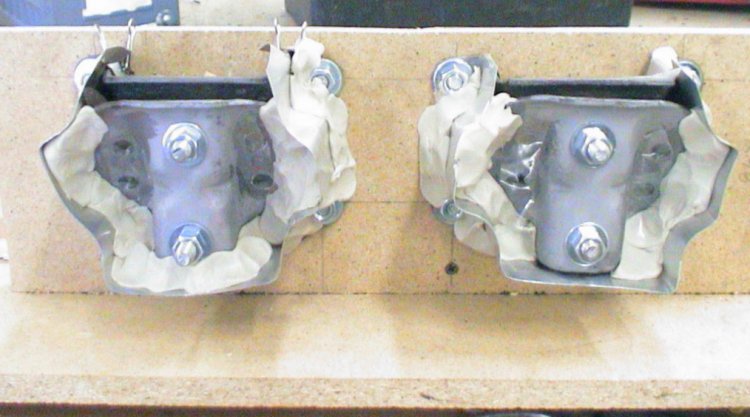
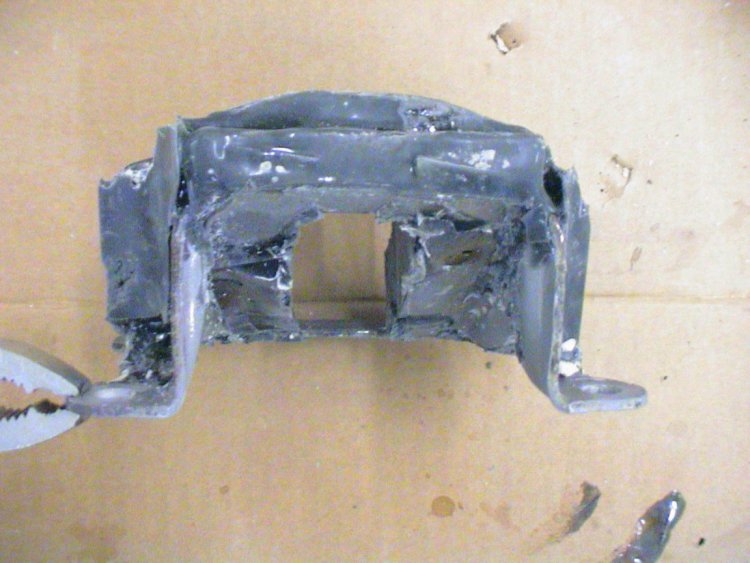
I bolted the mounts to the stand. I tried to seal off the mounts the best I could so I wouldn't have a lot of spillage and wasted product, I wasn't too successful. I figured one can of urethane should have been enough for both mounts but ended up using one can for just one mount. I used a roll of light weight 6" wide aluminum roof flashing and plumber's putty to seal the mounts. I was only able to do one and it was a mess, for the second one I will do better. I also used cardboard to seal the inside cavity of the mount, this is where all of my leakage occurred. I lined the cardboard with plastic packing tape to prevent the urethane from sticking to it, it worked pretty good. The flashing peeled off fairly easy without coating it. |
|||||||||||||||||||||||||||||||||||||||||||||||||||||||||||
|
|
|
|
||||||||||||||||||||||||||||||||||||||||||||||||||||||||
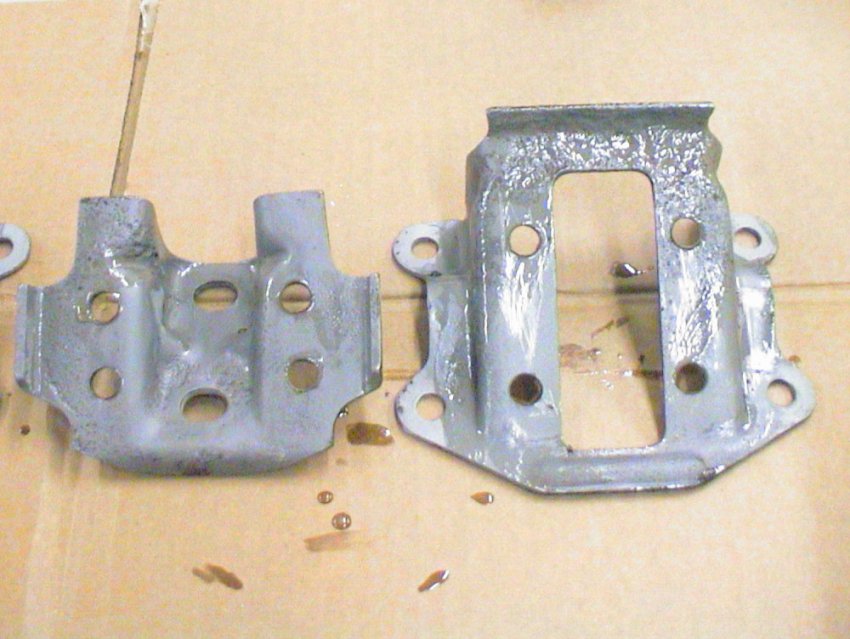
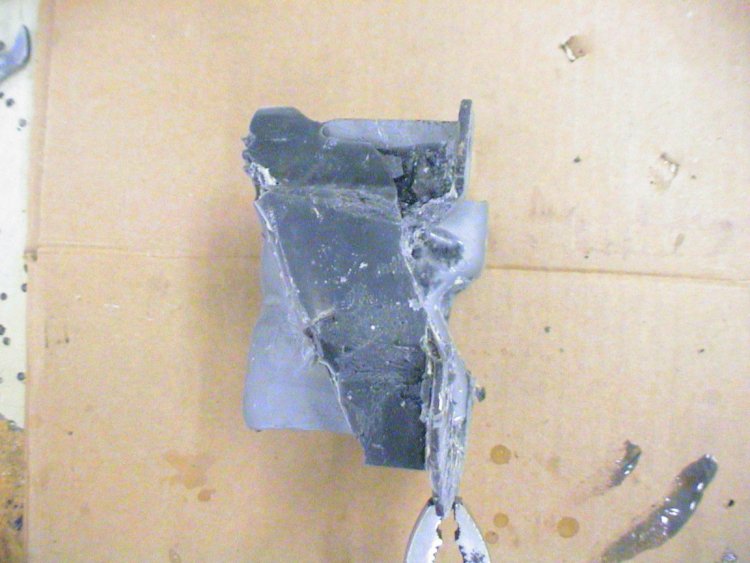
| Here are the results. Not very pretty but they're going to be under the car getting greasy and dirty and no one will ever see them. They'll also look a lot better with a coat of black paint on them. I had to do some trimming of the urethane and had a little difficulty separating the mount from the stand but it wasn't all that hard. Well worth the $150 savings and being able to say I was able to do another job on my car myself. |
|||||||||||||||||||||||||||||||||||||||||||||||||||||||||||

|

|
||||||||||||||||||||||||||||||||||||||||||||||||||||||||||
| I recently cast the remaining rear mount and the bottom and top parts of the front mounts. |
Because the front mount trays were pretty beat up I built new ones. |
||||||||||||||||||||||||||||||||||||||||||||||||||||||||||
|
| ||||||||||||||||||||||||||||||||||||||||||||||||||||||||||
|
| |||||||||||||||||||||||||||||||||||||||||||||||||||||||||||