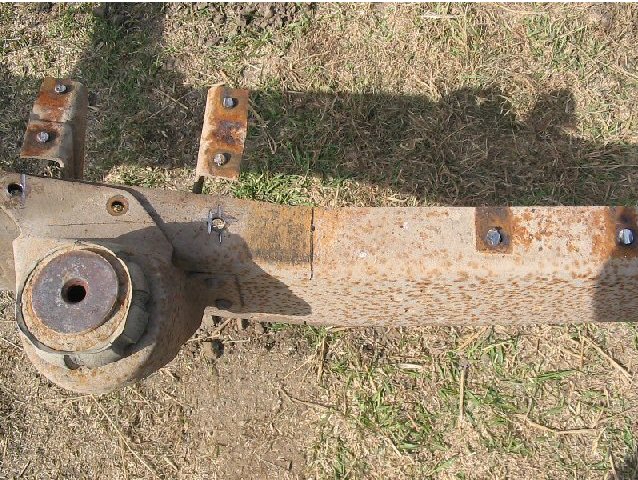
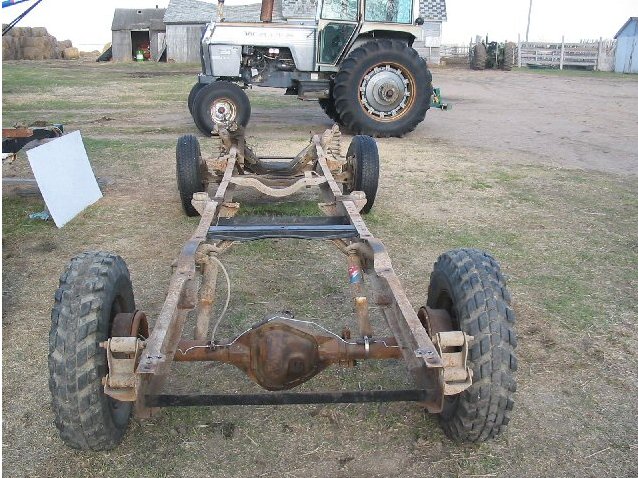
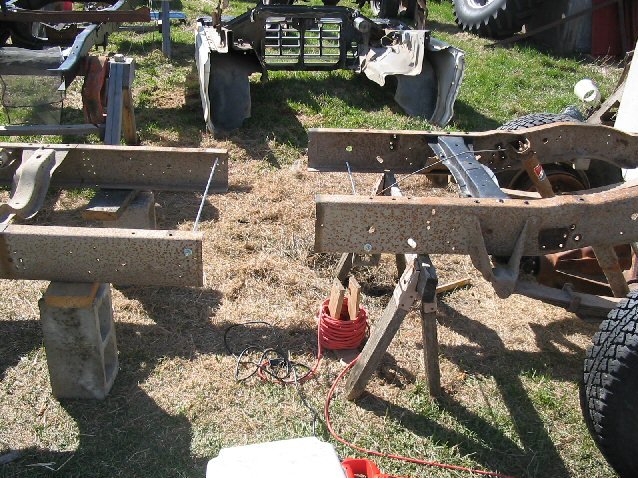
| Mark a line where the frame straightens out.
|
|
|
| Now mark a line where the frame widens out.
|
|
|
| I cut a slot in a spare piece of light angle iron
then spread it out to match the curvature of the frame so I could know
how much to cut.
|
|
|
| Now do the same for the other side and on the bottom rail too.
|
|
|
| Cut the all the marks you have just made.
|
|
|
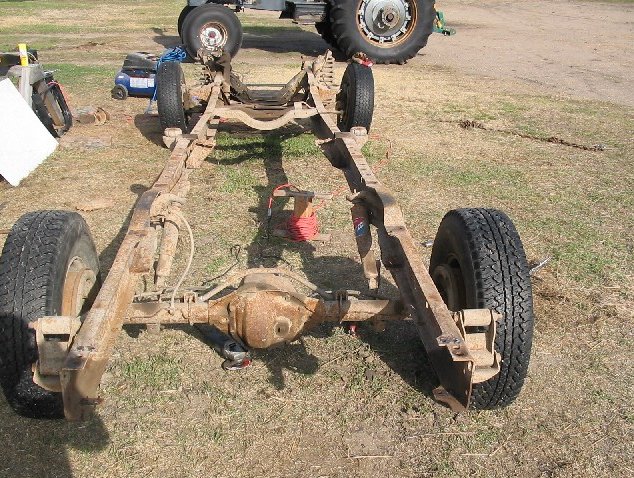
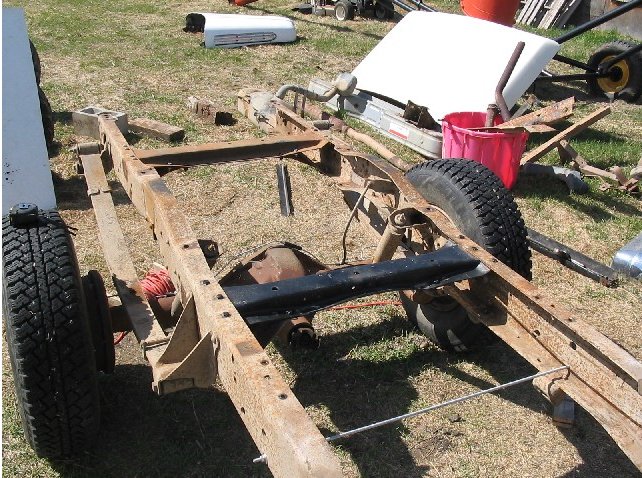
| Now you can remove the last crossmember and undo everything
that holds the rear axle on.
|
|
|
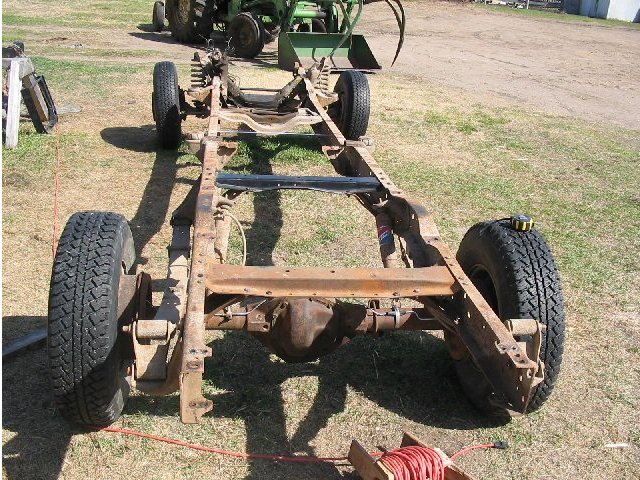
| Now take some crossmembers from the original frame
and bolt them into existing holes to pull the frame rails together.
Note: I have put a Dana 70 rear axle from '76 F-350 in. You can reweld
the spring perches on the Supercab Dana 60, use a Dana 60 from a 57-72
truck or even reuse the original Timken rear axle from the 48-52 but
that isn't recommended.
|
|
|
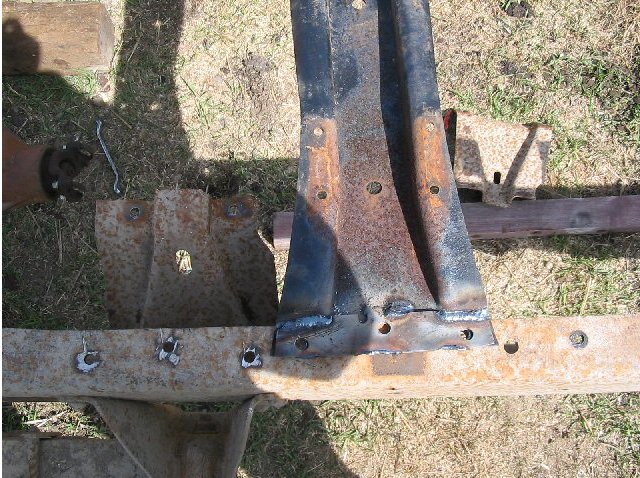
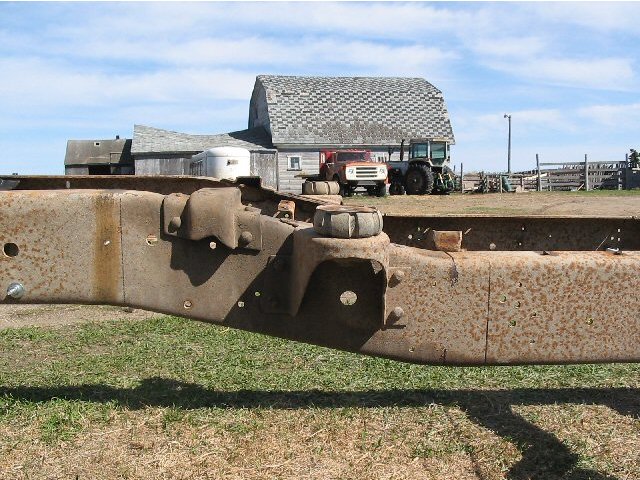
| I cut the ends off the original crossmember and welded
them onto the rear main crossmember from the 48-52 frame. Also at this
point make a cardboard template of the three holes, you will need this later.
|
|
|
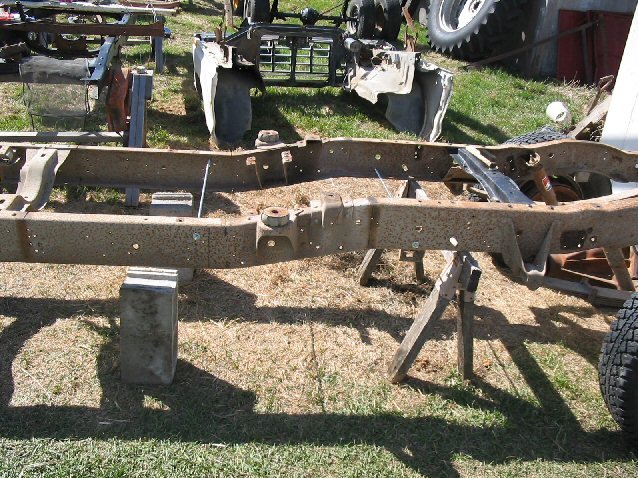
| Now bolt the crossmember in. You will be reusing the
lower brackets from the Supercab frame not the 48-52 frame. I also took
the crossmember that goes under the cab on the 48-52 frame and mounted
it. You will have to use the 48-52 lower mounts.
|
|
|
|
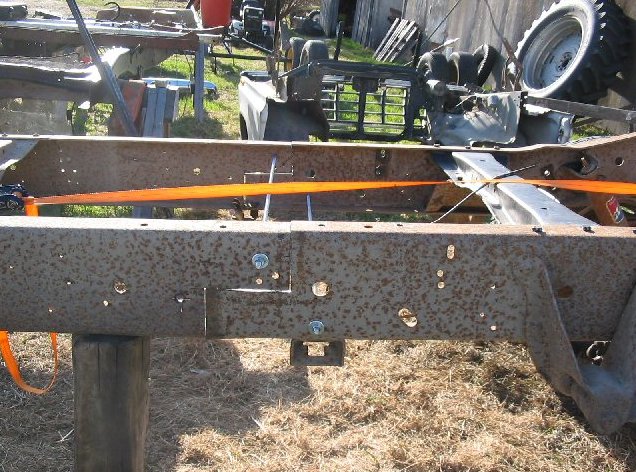
| Now mark a straight line just before the frame
slopes down. The Supercab frame has a wheelbase of 155" and the
48-52 frame is 122". 155" - 122" = 33". Now subtract 5" from 33".
Now mark another line 28" ahead of the other line. Note: Your front
line will be farther ahead than mine because I accidentally marked
23" instead of 28". Remember measure twice cut once!
|
|
|
| Find some suitable blocks and make sure there
is a little gap between the blocks and the frame. This will
help with cutting as the frame will pull apart so you won't
jam the blade. I cut from the bottom to the top. I bought some
threaded rod and put it through some existing holes to add some
strength when cutting.
|
|
|
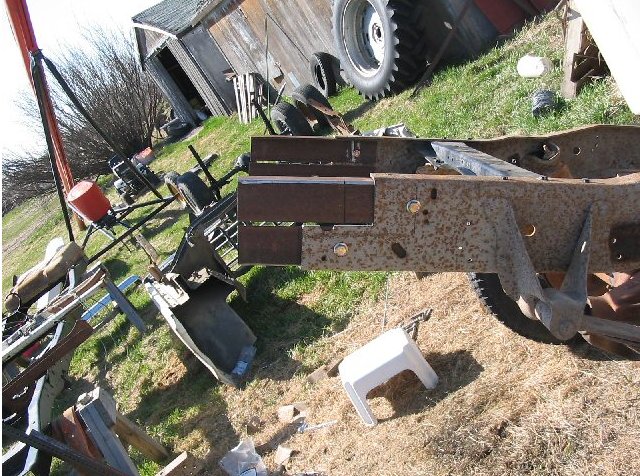
| Here is the frame with the "hump" removed.
|
|
|
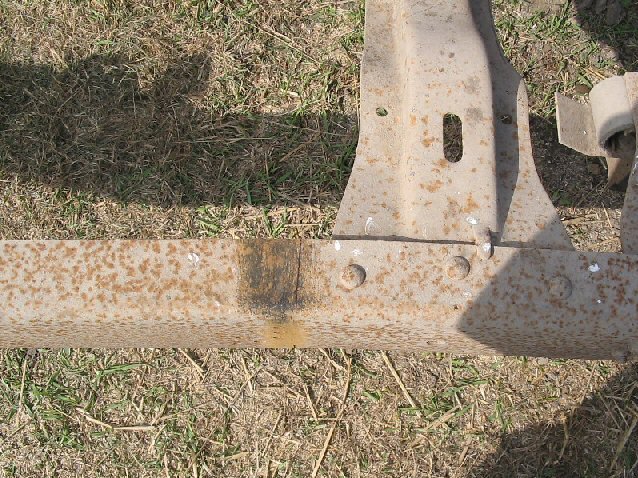
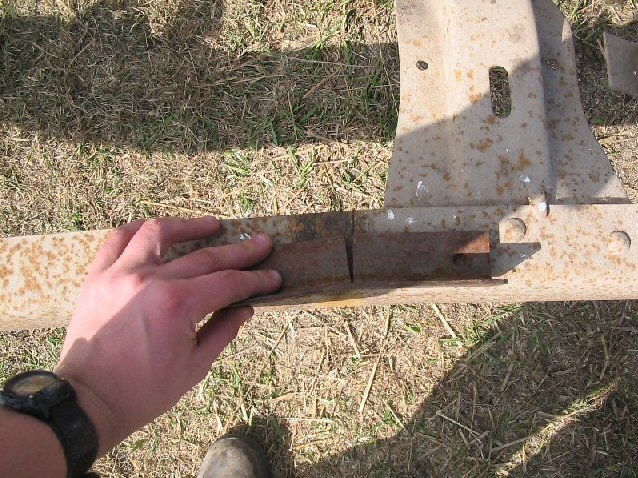
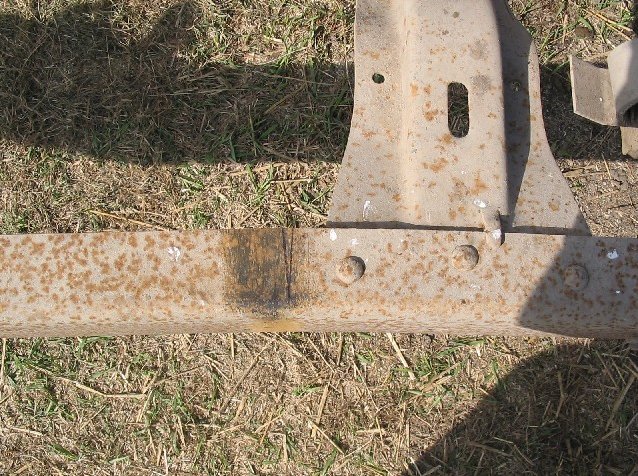
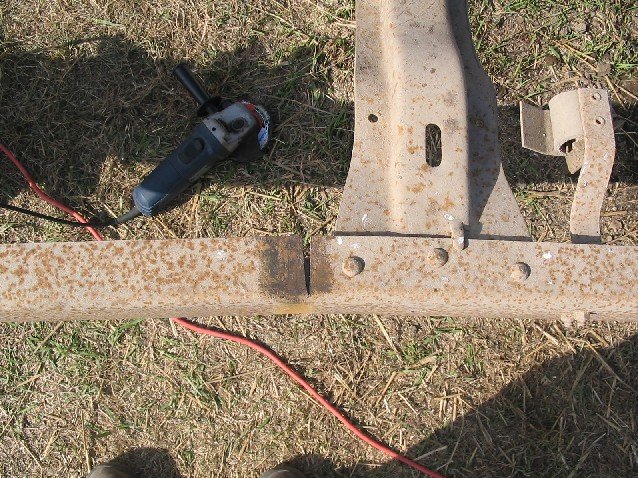
| You were probably wondering why we left 5" out? You will
have to measure 5" at the center of the frame and cut half way down like
the picture shows.
|
|
|
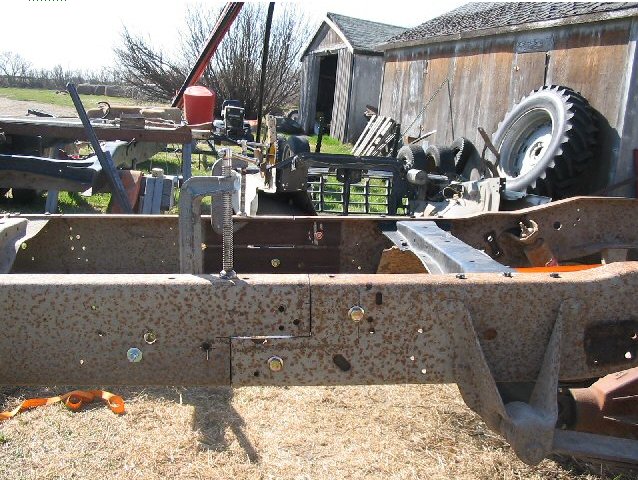
| I bought a 7' piece 3 x 2 x 3/16 angle iron. I cut it
into four 15" and two 12" pieces. You will have to round the corner for
the angle iron to fit good. I marked the center of the angle iron and
clamped in the center of the 5" cut. I drilled a hole in the center
with a drill bit one size smaller than 1/2 so the bolt fits sung and
then bolted them in place.
|
|
|
| I slid the frame together and clamped it in place.
|
|
|
|
|